
Page Resources
 View of download Editing Information for Users the PDF here.
|
Note About Uploading Publications
If you do not follow the formats provided in the + icon to the left of the field, your publication may not show up where you intended.Editing Information for Users
Beware: The system logs you out after around one hour of inactivity. Please remember to save changes regularly.
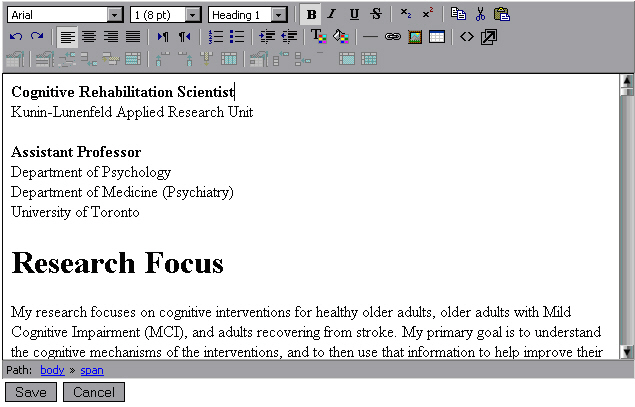
Each Profile page has a standard format as follows:- Position and Location
- Research Focus
- Publications
- Education
- Research Training
- Academic Appointments
- Certification and Licensure
- Professional Affiliations
- Teaching
- Research Projects
- Significant Presentations
- Media Coverage (if current, should be linked to home page)
- Reviewerships – Committees, Memberships, Consulting
- Awards
- Contact Information
In edit mode, this will not look the same as the finished product.
Do not add any “flair” to these headings or the content except for the styles in the Styles drop down list.
Headings Formats:
Heading 1
Heading 2
Heading 3
Heading 4
Heading 5
Heading 6
Normal
AddressFormatted
How to Edit:
Use Mozilla for working in the web pages. You can use IE but you may run into quirky problems which do not appear in Mozilla.Click on the ‘pencil/paper’ icon in the top left corner.

This will take you to edit mode.
NEVER copy and paste into this page from any other resource than Notepad. Wordpad tends to retain some formatting information so do not use wordpad.
For example, if you have content in a word document that you want to put on the site. First copy the content to Notepad and then copy from Notepad to the edit box.
The Menu Bar of the Edit Box:

The website has a CSS (cascading style sheet) which means that the styles for the content are predefined.
Row 1:
The only field needed from the top row is the Styles drop down field.
You may need superscript, subscript, copy, cut and paste
 but copy, cut and paste
  work the same way as in a word document (Ctrl-X for cut, Ctrl-C for copy, Ctrl-V for paste).
 Row 2:
You can use the two arrows on the left are undo and redo action.
 Do not change the justification with the next six icons (this should be set to left and remain there).

You can use the numbering and the buttons – again the styles are predefined.

You can use the next two icons to increase or decrease indentation.

Do not use the text colours or fills.

You can use the ‘add horizontal line’ as needed.

You can use the ‘add table’ as needed .

You can use ‘enlarge the editor’ to make it easier to work with the edit box.

The following icons are special cases and need further instruction:
Insert a web link

Insert an image

Inserting a Web Link :
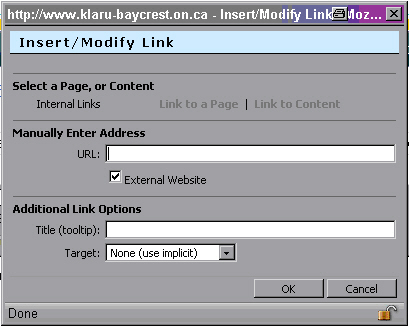
If the website is external:
You can copy and paste the url into the “Manually Enter Address” section. Be sure the “Target” under “Additional Link Options” is set to “New window” or users will have to use the back arrow and may lose their login.
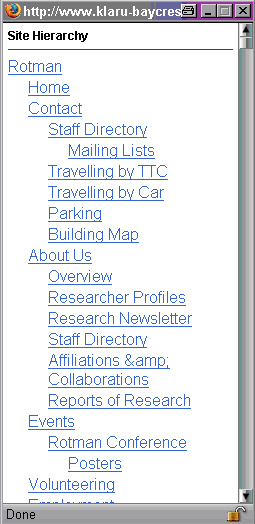
If the web page is internal:
You can use link to a page which will display the site hierarchy and then you select the page.
Or link to content which will display the “Site Content Selector” and you click on the
 of the content you want to use. Be careful, this page looks the same as the one you are working on.
If you have a document that you would like to upload to the site, the preferred format for these documents is PDF. PDFs take up less space than other formats. There is a size limit to the files that are uploaded to the site. You must first upload it to the Resource Manager located on the right side of the screen.
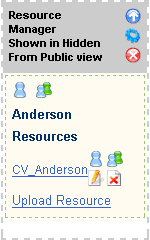
Click on “Upload Resource”.
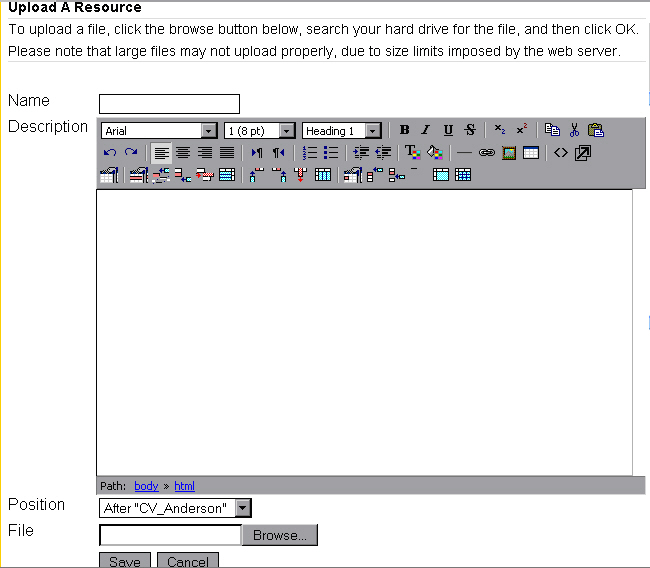
It is best to use a file name that is the same as the file you upload, however, do not have spaces (use underscores instead) in the “Name”. You can select where in the sidebar menu you would like to put the file using the “Position” drop down list.
Once you have the Resource uploaded, click on the Resource and right click the “Download Resource” button that opens in the next page and select “Copy Link Location”. Go back to the Link in the Editor and paste the copied link location into the URL. The best way to work back and forth is to use the New Tabs in Mozilla/IE.
Rules for Resources:
- Resource should not be more than 5 MB
- Preferred format is PDF
- Do not post email addresses using this method because the @ symbol is used by other companies to send spam. Use the @-icon instead.
Code for @ icon:
<img src="http://www.klaru-baycrest.on.ca/themes/baycresttheme/images/defang.gif" alt="@" />
The easiest way to use this icon is to copy and paste it from one that is already on the site.
Insert/Modify Image
:First, upload the image in the Image Manager located on the right side of the web page.
Go to the Editor and click on the Insert/Modify Image icon.
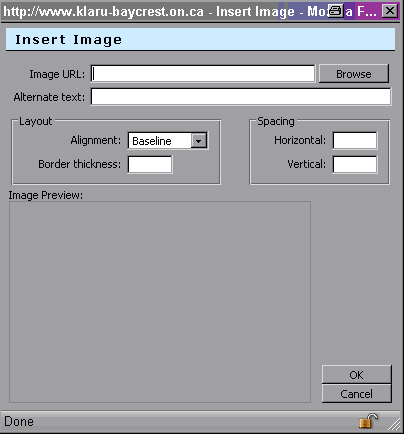
Click on Browse and go to the image in the Image Manager.
Click on the image and it will appear in the Image Preview.
Click on OK and the image will appear in the Editor.
Rules for Images:
- size should not be greater than 5 MB
- images should be jpg format
- for profile images, the image pixels are 96x96 (these can be resized in an image editor)
- If image is too large, the image will have a link to “view image” otherwise it will show in the image manager
The Toggle Html icon is for the Webmasters
 . This is used for analyzing the code and adding the code for things like drop lists.
Code for Drop Lists:
<h3><a title="View more" href="javascript:toggleLayer('kinfo14');"><img src="iconset/add.gif" alt="View more" /></a> more</h3><div class="hidden fancy" id="kinfo14">
CONTENT
</div>
Note that the (‘kinfo##’) and id=”kinfo##” need to have the same unique number. kinfo=klaru info
Code for Drop Addresses:
Heading:<br /><a title="View contact information" href="javascript:toggleLayer('contact13');"><img src="iconset/add.gif" alt="View more" /></a> <a href="http://url" target="_blank">Title for Url</a> <address class="hidden address" id="contact13">
Address 1<br />
Address 2<br />
Address 3<br />
Address 4<br />
Phone: number<br />
Fax: number<br />
Email: pre<img alt="@" src="http://www.klaru-baycrest.on.ca/themes/baycresttheme/images/defang.gif" />post
<br />URL Link <a target="_blank" href="http://url.html">Title</a><br /></address><br />
Note that the (‘contact##’) and id=”contact##” need to have the same unique number.
NOTE: The + icon may be changed to something a little more professional looking.
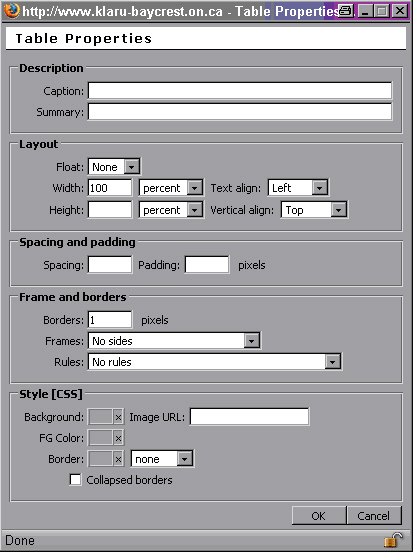
Row 3 for Tables:
This row is for table editing.

Row controls |Column controls| Cell controls
The first icon will display the Table Properties when selected.
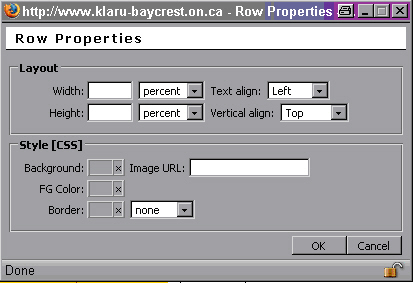
The second icon will display the row properties when selected.
The next four icons are Row controls as follows:
- insert a row before
- insert a row after
- delete a row
- split row
- insert a column before
- insert a column after
- delete a column
- split column
- cell properties
- insert a cell before
- insert a cell after
- delete a cell
- merge cells
- split cell
Other Containers:
To select a container, click on the page icon  on the Container Module.
Address Book
Administration Control Panel
Banner Manager
Booking Module
Calendar
Contact Form
Content Rotator
FAQ Module
Flash Animation Module
Form Module
Image Manager
Listing Module
Navigator
News Module
Page Displayer
Preview Link
Resource Manager
Search Module
Text Module
You will use the items in bold (i.e. containers) the most. For the other items, please contact your webmaster.

The first icon is the individual permissions.
The second icon is the group permissions.
These two icons are controlled by the webmaster only. If you require changes to permissions, please contact your webmaster.
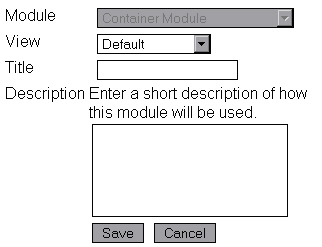
The third icon is the “Change the Layout of this container XX Module” depending on the module but allows you to give a title and description to your module.
Some modules have alternate views, such as the Resource Manager, Image Manager and Calendar. These are usually shown in mini view on the right side of the webpage.
The Navigator is used to show the descendants of a particular menu and is shown in “My Children – Description View”.
If you believe you know of a Resource that would be helpful to all of Klaru, please discuss it with the webmaster and he will put it on a central resource page. The more ideas you provide, the better your website will become. Please be sure to let the webmaster know if this information is available to everyone (internal and external to Klaru), just Klaru members, Klaru and Rotman, etc… as the permissions are set for each Parent Page.
If you would like a Forms lesson, please let the webmaster know.